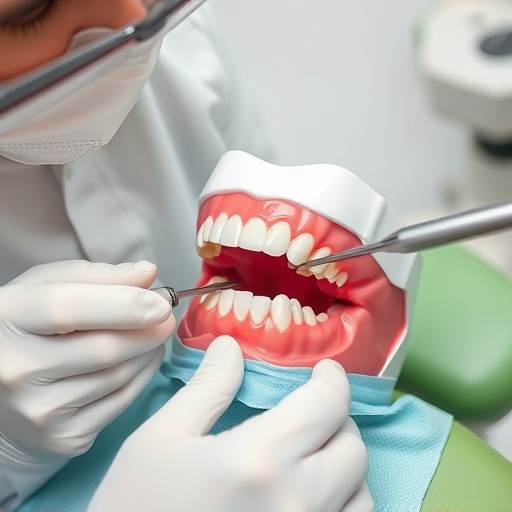


Glass ceramic coating is a versatile DIY solution for vehicle protection and aesthetics, combining glass clarity and ceramic durability to shield against environmental damage. Enthusiasts can achieve professional results with proper tools, patience, and attention to detail. Essential supplies include high-quality coatings, applicators, protective gear, and a well-ventilated workspace. Application involves washing, drying, and applying thin layers, following manufacturer instructions for optimal results. This DIY method offers customization and cost savings, though professional finishes may be harder to attain.
Can you achieve professional-level results with a DIY glass ceramic coating? This comprehensive guide shows you how. Glass ceramic coatings offer unparalleled durability, easy maintenance, and enhanced aesthetics for your surfaces. Learn the basics, from understanding this innovative material to its many benefits for homes and businesses. We’ll equip you with the tools, materials, and step-by-step instructions to successfully apply and cure your own glass ceramic coating – saving you time and money while achieving stunning results.
- Understanding Glass Ceramic Coating: Basics and Benefits
- Tools and Materials for DIY Coating Projects
- Step-by-Step Guide: Applying and Curing Your Coating
Understanding Glass Ceramic Coating: Basics and Benefits
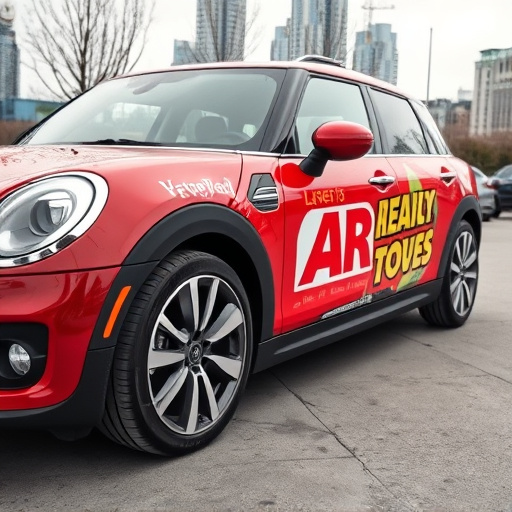
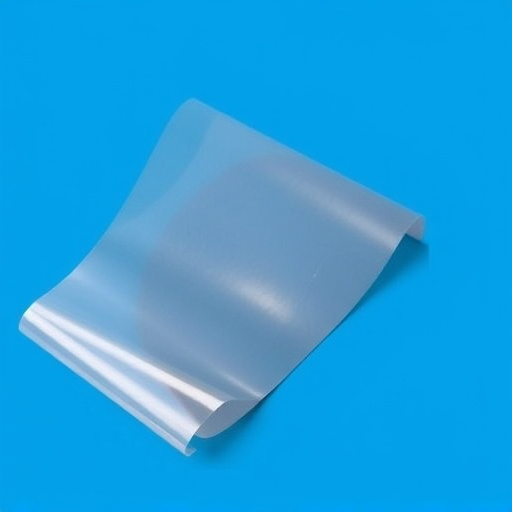
Glass ceramic coating is a cutting-edge technology designed to revolutionize vehicle protection and aesthetics. It’s more than just a glossy finish; it’s a protective layer that combines the clarity of glass with the durability of ceramic, offering superior benefits compared to traditional paint jobs. This innovative material not only enhances the look of your car but also provides a durable barrier against environmental factors like UV rays, acid rain, and bird droppings, effectively extending the lifespan of your vehicle’s finish.
One of the key advantages of glass ceramic coatings is their ability to reject heat, which can significantly reduce the impact of thermal stress on painted surfaces. This is particularly beneficial in regions with extreme temperature fluctuations. Additionally, these protective coatings are easy to maintain and can often be reapplied, providing a long-lasting solution for DIY enthusiasts looking to achieve professional results without the cost. With the right tools and a bit of patience, you can certainly DIY a glass ceramic coating, offering both protection and a show-stopping finish that rivals that of professionals.
Tools and Materials for DIY Coating Projects
To tackle a DIY glass ceramic coating project, you’ll need a few essential tools and materials. Start with high-quality coatings designed for glass or ceramic surfaces; these are crucial for achieving professional results. Pick up some applicators like foam rollers or brushes, depending on your preference. Don’t forget protective gear such as gloves and goggles to ensure safety during the process. A suitable mask is also recommended, especially if you’re working in a well-ventilated area. Additionally, gather items like a clean cloth for wiping down the surface before coating, a spray bottle for diluting the solution (if needed), and a heat source like a hair dryer or heating gun to activate the coating.
For successful glass ceramic coating, consider factors like the type of glass or ceramic you’re working with and whether it requires any pre-treatment. Prepare your workspace by ensuring good ventilation due to potential fumes. Remember, proper preparation is key in achieving excellent heat rejection and paint correction. In terms of automotive detailing, a DIY approach allows for customization and cost savings, but it might not match the flawless finish professionals achieve.
Step-by-Step Guide: Applying and Curing Your Coating
Applying a glass ceramic coating is an art that anyone can master with the right approach. Here’s your step-by-step guide to achieving professional results at home. Begin by preparing your workspace, ensuring it’s clean and well-ventilated. Put on protective gear, including gloves and goggles, as safety is paramount when handling any coating materials. Next, thoroughly wash and dry your car surface to create a smooth base for the ceramic coating.
Now, dispense a small amount of the ceramic coating onto a suitable applicator pad or foam. Spread it evenly over the desired area in thin, controlled layers, working from one edge to another. Allow each layer to dry slightly before adding the next, as per the manufacturer’s instructions. After applying the final coat, use a clean microfiber towel to buff and polish until a sleek, glossy finish emerges. Your car will then be protected with a durable glass ceramic coating, offering enhanced aesthetics and durability comparable to professional ceramic window tinting or paint protection film applications.
While professional glass ceramic coatings offer superior results, DIY enthusiasts can achieve impressive outcomes with the right knowledge and tools. By understanding the process, gathering essential materials, and following a structured guide, you can successfully apply and cure your own glass ceramic coating. This not only saves costs but also allows for customization and creative expression on your surfaces. With practice, you’ll master the art of DIY glass ceramic coating, enhancing your home or workspace with durable, low-maintenance finishes.